
doggy
New member
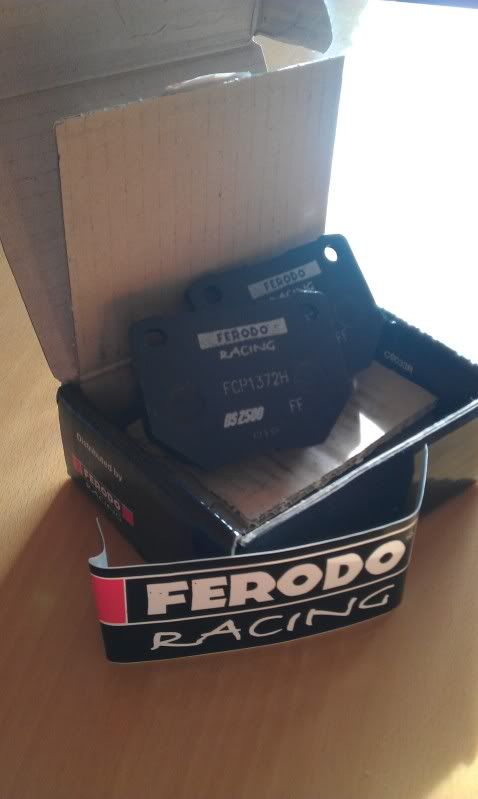
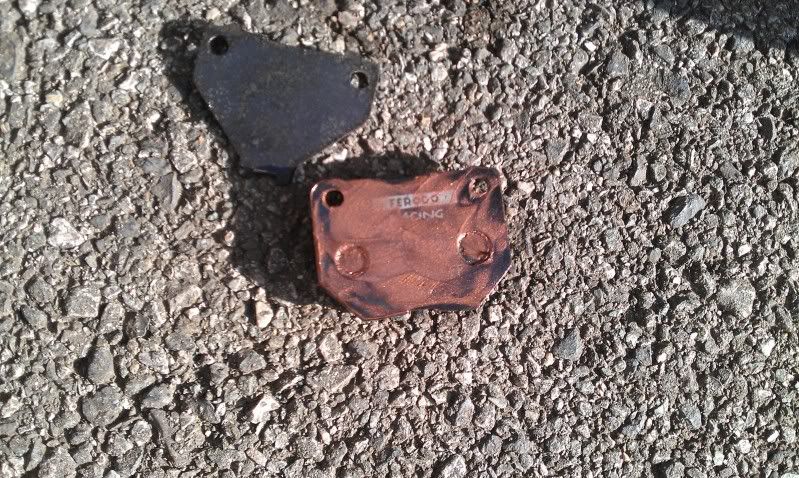
Pads of choice are the Ferodo DS2500
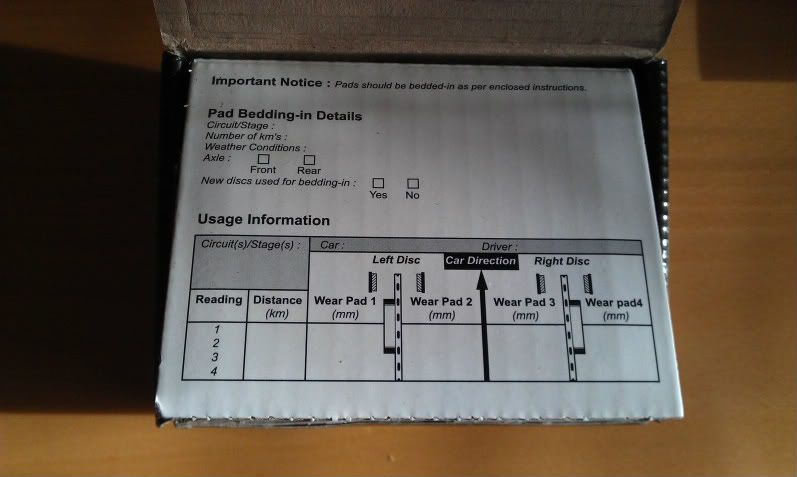
Obvious race pedigree from the bedding in sheet that includes an entry for Circuit/Stage details
Tools needed (and some not needed)

Jack up, secure on axle stands, chock the wheels and remove the wheel for the corner you're working on. Remove the brake fluid reservoir cap to prevent overpressurising the system when squeezing the pistons back
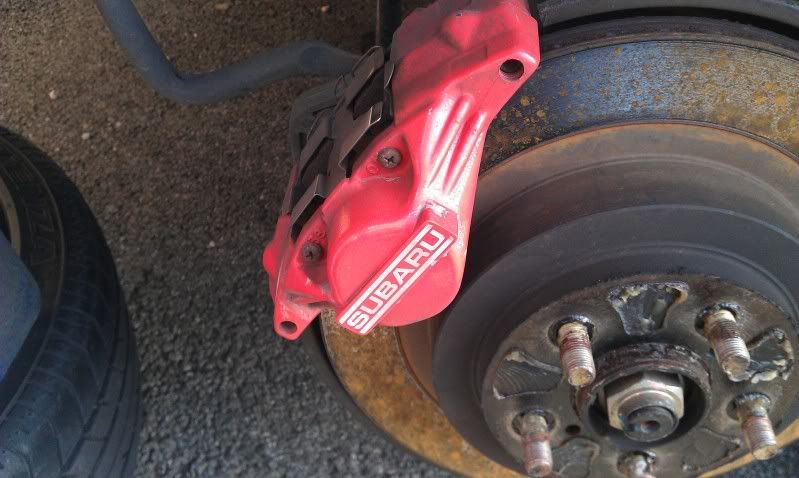
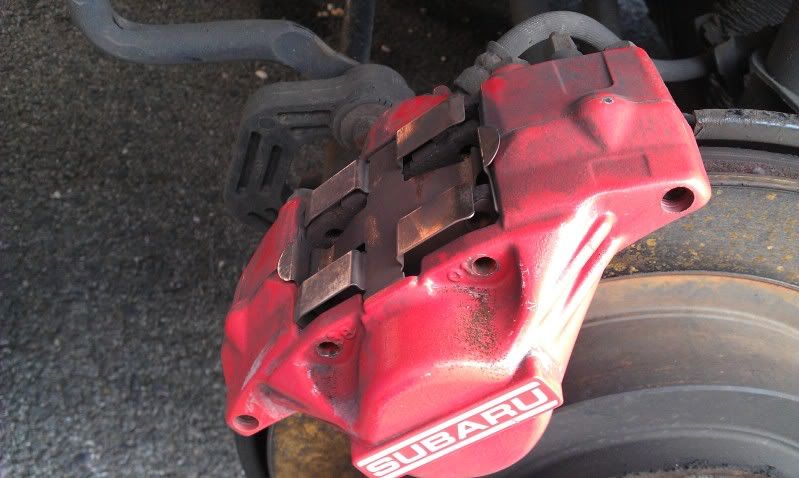
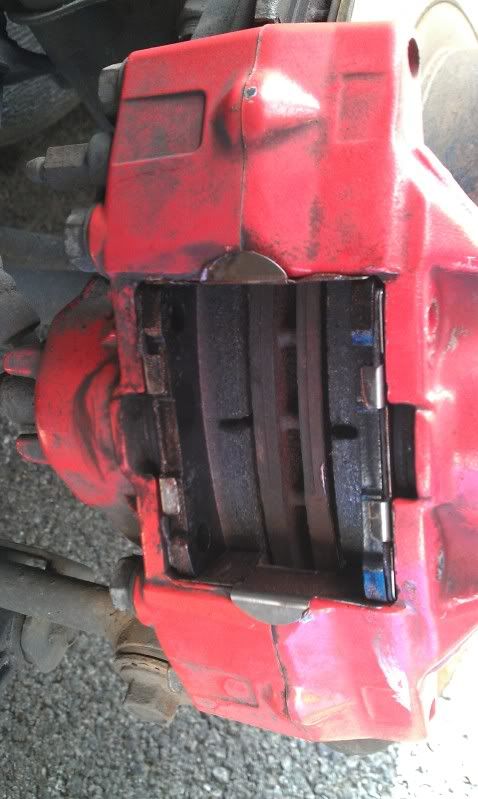
This pic shows the type of caliper used on this model
Take off the spring clip, visible at the left of this shot from the two securing pins
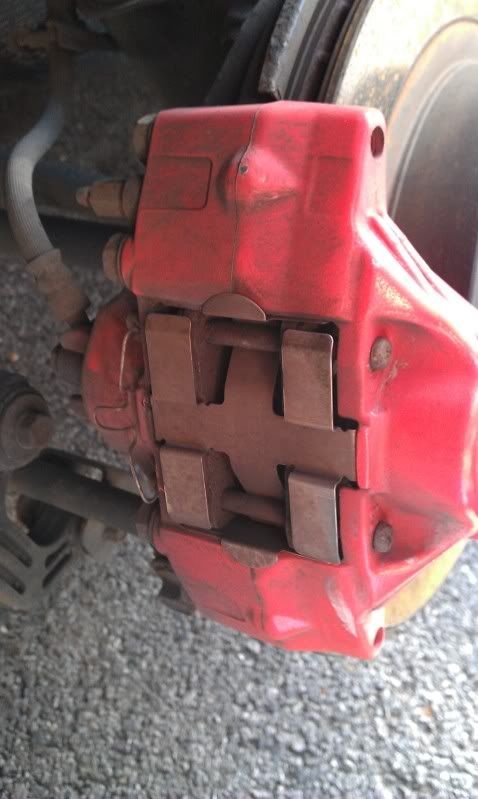
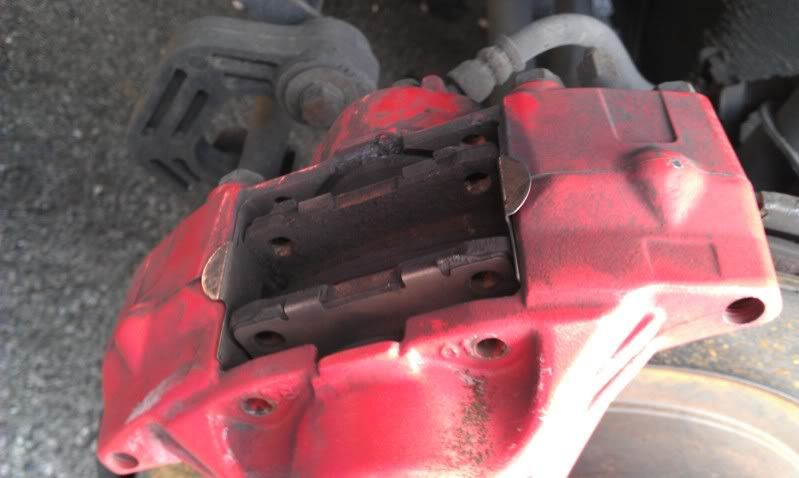
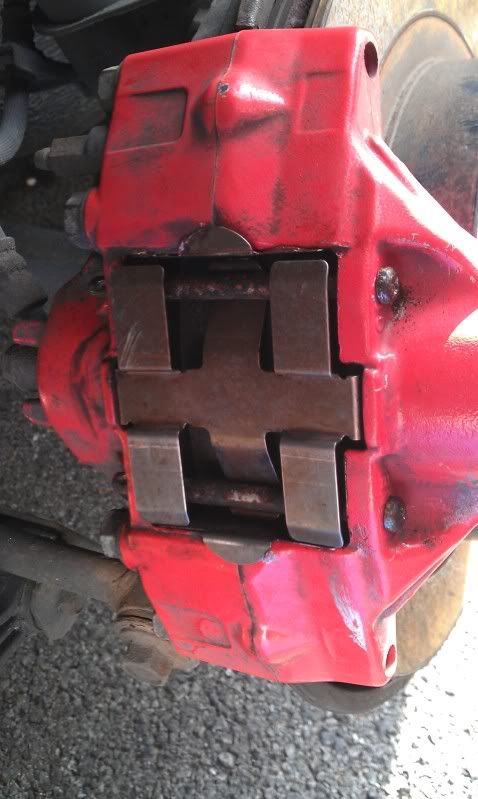
Remove the two securing pins using a hammer and punch from the rear. I used a vice grips to pull form the outside once they had shifted a little, to leave this:
Remove the spring clip to expose the pads
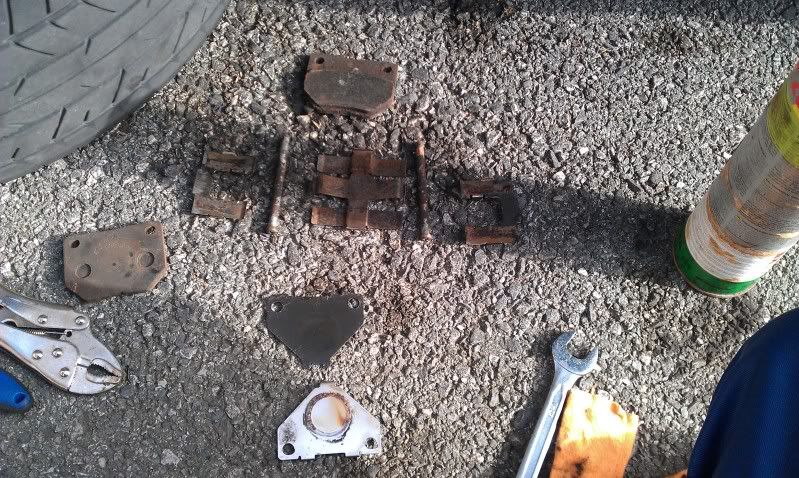
Once the pads are out, the little antisqueal shims on the front and rear of the caliper can also be removed. The pistons need to be forced back to allow room for the new pads which have more material than the old ones. I did this with the old pads in place in order to move the pistons evenly. It can also be done when the old pads are out.
Remove the antisqueal shims from both pads and the fully disassembled pieces look like this:
Now for the installation, first clean everything with brake cleaner, clean off any excess dust from the caliper, springs and antisqueal shims
Smear the rear of the pads with copper grease, being careful not to get any on the friction material
I used grease on both sets of antisqueal shims also just to be sure. Replace the shims on the new pads ready for installation
New pads installed
Place the spring clip into the caliper and secure using the securing pins, reinstall the spring at the inside of the caliper that links the securing pins
Fully assembled:
Replace the reservoir cap, press the brake pedal to apply the pads to the discs, check fluid level finally and bed in carefully.
Comments and corections welcome
Obvious race pedigree from the bedding in sheet that includes an entry for Circuit/Stage details
Tools needed (and some not needed)
Jack up, secure on axle stands, chock the wheels and remove the wheel for the corner you're working on. Remove the brake fluid reservoir cap to prevent overpressurising the system when squeezing the pistons back
This pic shows the type of caliper used on this model
Take off the spring clip, visible at the left of this shot from the two securing pins
Remove the two securing pins using a hammer and punch from the rear. I used a vice grips to pull form the outside once they had shifted a little, to leave this:
Remove the spring clip to expose the pads
Once the pads are out, the little antisqueal shims on the front and rear of the caliper can also be removed. The pistons need to be forced back to allow room for the new pads which have more material than the old ones. I did this with the old pads in place in order to move the pistons evenly. It can also be done when the old pads are out.
Remove the antisqueal shims from both pads and the fully disassembled pieces look like this:
Now for the installation, first clean everything with brake cleaner, clean off any excess dust from the caliper, springs and antisqueal shims
Smear the rear of the pads with copper grease, being careful not to get any on the friction material
I used grease on both sets of antisqueal shims also just to be sure. Replace the shims on the new pads ready for installation
New pads installed
Place the spring clip into the caliper and secure using the securing pins, reinstall the spring at the inside of the caliper that links the securing pins
Fully assembled:
Replace the reservoir cap, press the brake pedal to apply the pads to the discs, check fluid level finally and bed in carefully.
Comments and corections welcome
