
You are using an out of date browser. It may not display this or other websites correctly.
You should upgrade or use an alternative browser.
You should upgrade or use an alternative browser.
What did you do to your car today?
- Thread starter sligo_dave
- Start date
glad to hear a good time was had,raging i couldnt make it with the gearbox gone but will get to the next one
[quote author=Tommy 555 link=topic=30408.msg1#msg1 date=1371499726]
washed mine after barretstown last night , can honestly say the car has never been as dirty in the 3 years i have it , but id do it again tomorrow ,
[/quote]
I'd well believe that Tommy
washed mine after barretstown last night , can honestly say the car has never been as dirty in the 3 years i have it , but id do it again tomorrow ,
[/quote]
I'd well believe that Tommy

Keadeen
Well-known member
Okay... here goes (gonna be a bit long lads...)
During weekend went to fit ProSport Halo gauges (oil pressure, oil temp and boost). Ran into problem as needed to extend OEM oil pressure sender wire and for the life of me couldn't find a single spade connector to crimp on (have boxes of them, but could I find one... nope). Anyhow, kept at it and had the boost hose neatly routed, boost sender connected... and then while securing sender to car body... snap!... bloody little plastic, no good for nothing, stupid designed, flimsy B****d plastic niple broke off the sender housing!!!
Ah well, better during install then when at full chat and lose boost I guess.
Anyhow... got a load of grief of the missus a few weeks ago for buying a Dremel ("why you need that? how much did it cost?") - thank God she said nothing about the 10 odd boxes that arrived with bits since and cost a significant multiple of a Dremel ... Dremel came into its own to drill out sender housing and epoxy glue in half a HFX231 Connector from Halfords. Stronger now than it was originally too! Will post picture when get a chance to take one.
Fitting gauges into New Age centre pod from Scoobyworld, which I painted SP-954 VHT Vinyl Dye Charcoal Gray. Hopefully will get time to complete the work on the gauges, pod and wiring tonight so all working by tomorrow!
Today getting fitted in preparation for mapping tomorrow:
* Cobra 200 cell sports cat downpipe 3" to 2.5" fitting (wrapped and sealed with high temp sealant)
* Hayward & Scott resonated centre pipe 2.5"
* Cobra TP48 back box with 4" rolled tail
* Poly exhaust hangers
* Perrin heat shield
* Perrin poly droplinks
* Set of NGK ILFR7H plugs
* K&N Panel for OEM box (probably stick that in just before mapping run)
Tomorrow... Bob Rawle RaceRom dual map for RON95... :changinggear:
During weekend went to fit ProSport Halo gauges (oil pressure, oil temp and boost). Ran into problem as needed to extend OEM oil pressure sender wire and for the life of me couldn't find a single spade connector to crimp on (have boxes of them, but could I find one... nope). Anyhow, kept at it and had the boost hose neatly routed, boost sender connected... and then while securing sender to car body... snap!... bloody little plastic, no good for nothing, stupid designed, flimsy B****d plastic niple broke off the sender housing!!!
Ah well, better during install then when at full chat and lose boost I guess.
Anyhow... got a load of grief of the missus a few weeks ago for buying a Dremel ("why you need that? how much did it cost?") - thank God she said nothing about the 10 odd boxes that arrived with bits since and cost a significant multiple of a Dremel
... Dremel came into its own to drill out sender housing and epoxy glue in half a HFX231 Connector from Halfords. Stronger now than it was originally too! Will post picture when get a chance to take one. Fitting gauges into New Age centre pod from Scoobyworld, which I painted SP-954 VHT Vinyl Dye Charcoal Gray. Hopefully will get time to complete the work on the gauges, pod and wiring tonight so all working by tomorrow!
Today getting fitted in preparation for mapping tomorrow:
* Cobra 200 cell sports cat downpipe 3" to 2.5" fitting (wrapped and sealed with high temp sealant)
* Hayward & Scott resonated centre pipe 2.5"
* Cobra TP48 back box with 4" rolled tail
* Poly exhaust hangers
* Perrin heat shield
* Perrin poly droplinks
* Set of NGK ILFR7H plugs
* K&N Panel for OEM box (probably stick that in just before mapping run)
Tomorrow... Bob Rawle RaceRom dual map for RON95... :changinggear:
Jeazus liking your work man well written going to be some difference after that get you blog up stick in a little history and copy and paste this good job.. 
Keadeen
Well-known member
I got it because when fitting sports cat downpipe usually the OEM heatshield doesn't fit anymore. Nothing too special about it other than bigger in size. http://www.perrinperformance.com/subaru/sti-06-07/exhaust/turbo-heat-shield ... is same item listed for 2.0 blob. As dimensions are same for turbo and brackets etc for Classic it should fit I think.
NOTE: beware, I got stung for import duties on the order though - FYI approx $430 resulted in €115 import duties to be paid COD!
NOTE: beware, I got stung for import duties on the order though - FYI approx $430 resulted in €115 import duties to be paid COD!
tommy 555
Member Number 935
[quote author=Keadeen link=topic=30408.msg438190#msg438190 date=1371631811]
Okay... here goes (gonna be a bit long lads...)
During weekend went to fit ProSport Halo gauges (oil pressure, oil temp and boost). Ran into problem as needed to extend OEM oil pressure sender wire and for the life of me couldn't find a single spade connector to crimp on (have boxes of them, but could I find one... nope). Anyhow, kept at it and had the boost hose neatly routed, boost sender connected... and then while securing sender to car body... snap!... bloody little plastic, no good for nothing, stupid designed, flimsy B****d plastic niple broke off the sender housing!!!
Ah well, better during install then when at full chat and lose boost I guess.
Anyhow... got a load of grief of the missus a few weeks ago for buying a Dremel ("why you need that? how much did it cost?") - thank God she said nothing about the 10 odd boxes that arrived with bits since and cost a significant multiple of a Dremel ... Dremel came into its own to drill out sender housing and epoxy glue in half a HFX231 Connector from Halfords. Stronger now than it was originally too! Will post picture when get a chance to take one.
Fitting gauges into New Age centre pod from Scoobyworld, which I painted SP-954 VHT Vinyl Dye Charcoal Gray. Hopefully will get time to complete the work on the gauges, pod and wiring tonight so all working by tomorrow!
Today getting fitted in preparation for mapping tomorrow:
* Cobra 200 cell sports cat downpipe 3" to 2.5" fitting (wrapped and sealed with high temp sealant)
* Hayward & Scott resonated centre pipe 2.5"
* Cobra TP48 back box with 4" rolled tail
* Poly exhaust hangers
* Perrin heat shield
* Perrin poly droplinks
* Set of NGK ILFR7H plugs
* K&N Panel for OEM box (probably stick that in just before mapping run)
Tomorrow... Bob Rawle RaceRom dual map for RON95... :changinggear:
[/quote]
should be some difference charles . another 50 bhp released id imagine if mine is anything to go by
Okay... here goes (gonna be a bit long lads...)
During weekend went to fit ProSport Halo gauges (oil pressure, oil temp and boost). Ran into problem as needed to extend OEM oil pressure sender wire and for the life of me couldn't find a single spade connector to crimp on (have boxes of them, but could I find one... nope). Anyhow, kept at it and had the boost hose neatly routed, boost sender connected... and then while securing sender to car body... snap!... bloody little plastic, no good for nothing, stupid designed, flimsy B****d plastic niple broke off the sender housing!!!
Ah well, better during install then when at full chat and lose boost I guess.
Anyhow... got a load of grief of the missus a few weeks ago for buying a Dremel ("why you need that? how much did it cost?") - thank God she said nothing about the 10 odd boxes that arrived with bits since and cost a significant multiple of a Dremel
... Dremel came into its own to drill out sender housing and epoxy glue in half a HFX231 Connector from Halfords. Stronger now than it was originally too! Will post picture when get a chance to take one. Fitting gauges into New Age centre pod from Scoobyworld, which I painted SP-954 VHT Vinyl Dye Charcoal Gray. Hopefully will get time to complete the work on the gauges, pod and wiring tonight so all working by tomorrow!
Today getting fitted in preparation for mapping tomorrow:
* Cobra 200 cell sports cat downpipe 3" to 2.5" fitting (wrapped and sealed with high temp sealant)
* Hayward & Scott resonated centre pipe 2.5"
* Cobra TP48 back box with 4" rolled tail
* Poly exhaust hangers
* Perrin heat shield
* Perrin poly droplinks
* Set of NGK ILFR7H plugs
* K&N Panel for OEM box (probably stick that in just before mapping run)
Tomorrow... Bob Rawle RaceRom dual map for RON95... :changinggear:
[/quote]
should be some difference charles . another 50 bhp released id imagine if mine is anything to go by
Keadeen
Well-known member
Got the ProSport gauges fitted. Have pics, but as away coming week won't get to put them up till the weekend. Car mapped last week by Bob. Calculated values were very strong and not sure how accurate exactly, but either way the car drives like something else altogether. Tommy you were right, up 46bhp and 130Nm from stock on RON95 going by graph. Not to get into a debate on how accurate the graph or exact numbers are... the difference can certainly be clearly felt!
tommy 555
Member Number 935
[quote author=Keadeen link=topic=30408.msg438550#msg438550 date=1372088122]
Got the ProSport gauges fitted. Have pics, but as away coming week won't get to put them up till the weekend. Car mapped last week by Bob. Calculated values were very strong and not sure how accurate exactly, but either way the car drives like something else altogether. Tommy you were right, up 46bhp and 130Nm from stock on RON95 going by graph. Not to get into a debate on how accurate the graph or exact numbers are... the difference can certainly be clearly felt!
[/quote]
its a vast difference between standard and racerom , considering we are running almost identical mods but you are mapped for 95 and mine for e5 , i think a rolling road session is in order and it might shed some light on the whole e5 vs 95 ron fuel debate and see is it worth the effort looking for maxol over any other pump fuel !
JAMIE-TYPERV6
Octane Boostaholics
Felt the wagon needed some well-deserved TLC so ordered up some M-Tec drilled and grooved black finish discs... Godspeed Kevlar fast road pads (not sure how good these are but better I've heard than standard wooden pads)... Some Castrol and a filter.
Too many near misses with bad standard brakes so hopefully this will make my B -road spins home a lot more fun!!")
Too many near misses with bad standard brakes so hopefully this will make my B -road spins home a lot more fun!!
Attachments
-
 image.jpg1.6 MB · Views: 27
 -
 image.jpg1.6 MB · Views: 27
 -
 image.jpg1.6 MB · Views: 27
 -
 image.jpg1.6 MB · Views: 27
 -
 image.jpg1.6 MB · Views: 27
 -
 image.jpg1.6 MB · Views: 27
 -
 image.jpg1.6 MB · Views: 27
 -
 image.jpg1.6 MB · Views: 27
 -
 image.jpg1.6 MB · Views: 27
 -
 image.jpg1.6 MB · Views: 27
 -
 image.jpg1.6 MB · Views: 27
 -
 image.jpg1.6 MB · Views: 27
 -
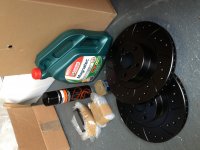 image.jpg1.6 MB · Views: 27
 -
 image.jpg1.6 MB · Views: 27
JAMIE-TYPERV6
Octane Boostaholics
Everywhere bar were the pad makes contact Andy.
james.long
Sunday Drivers
Refitted the cat and had to replace the inner passenger fron cv boot for the test tomorrow. Fingers crossed it will pass
JAMIE-TYPERV6
Octane Boostaholics
[quote author=dossie01 link=topic=30408.msg438738#msg438738 date=1372335832]
Be prepared for the noise Jamie, they are noisey discs when braking, I put them on the 5 series when I got it, great value and can't fault them otherwise.
[/quote]
Ahhh... TBH... I don't care so long as the brakes are better than the crap I have at the minute. Noisey brakes wouldn't bother me too much... it's the squeeky dash, rattly heatshields, droning PS wheel bearing that drives me mad!!
Have the same discs on my wagon Jamie and not a sound out of them
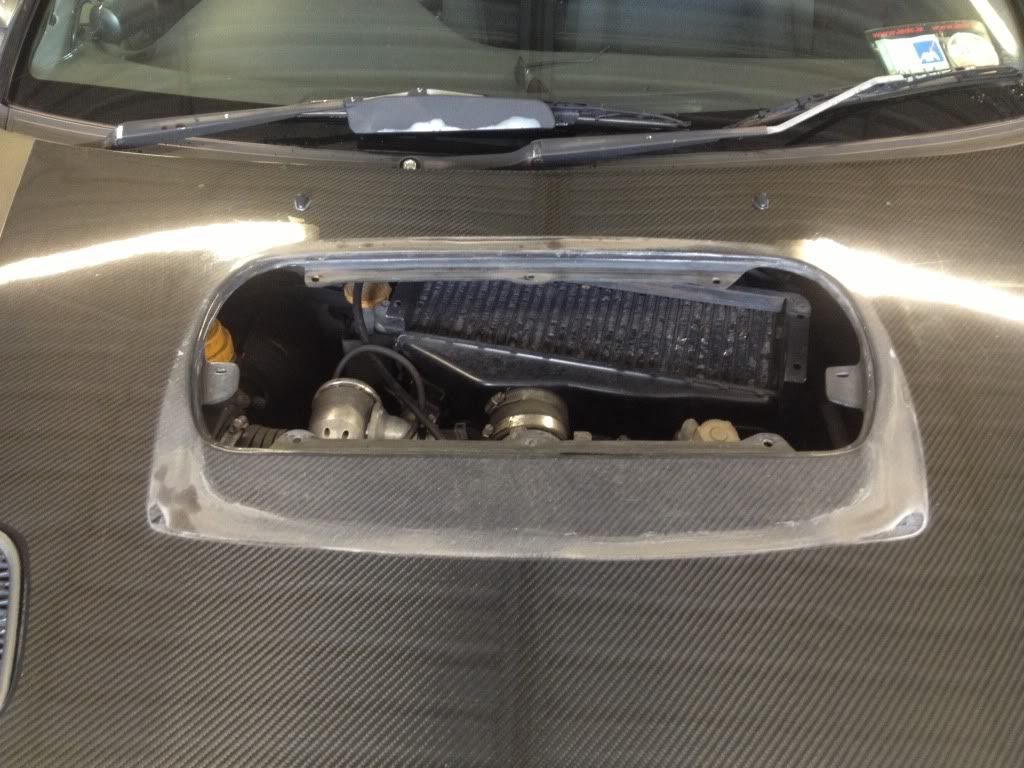
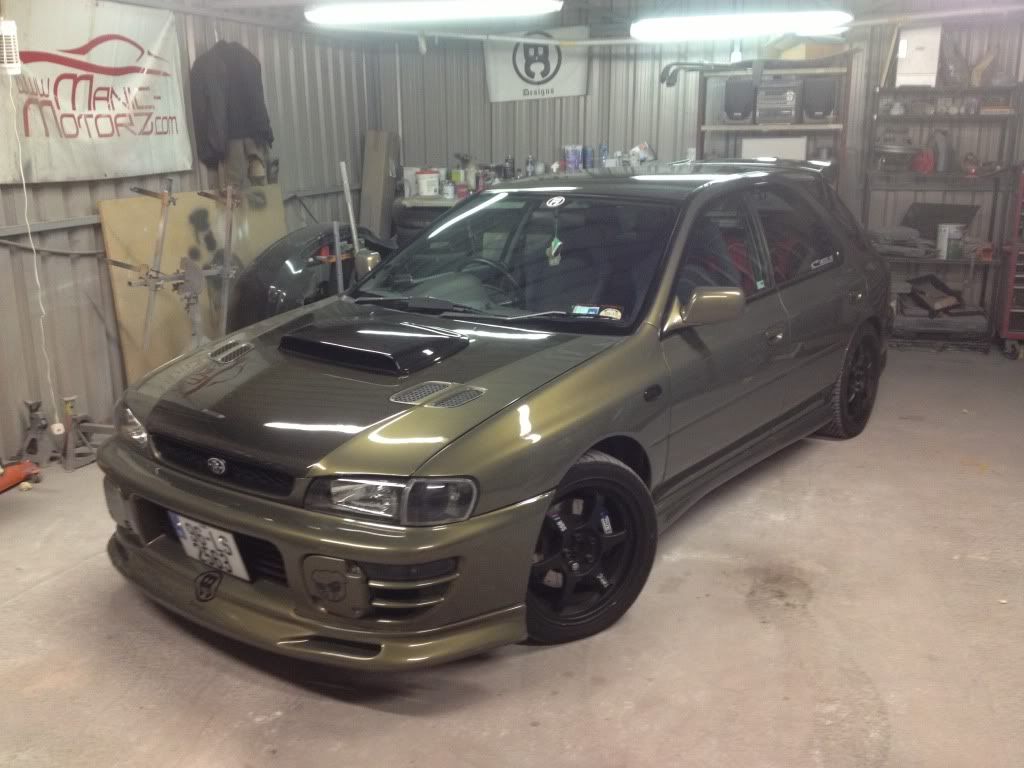
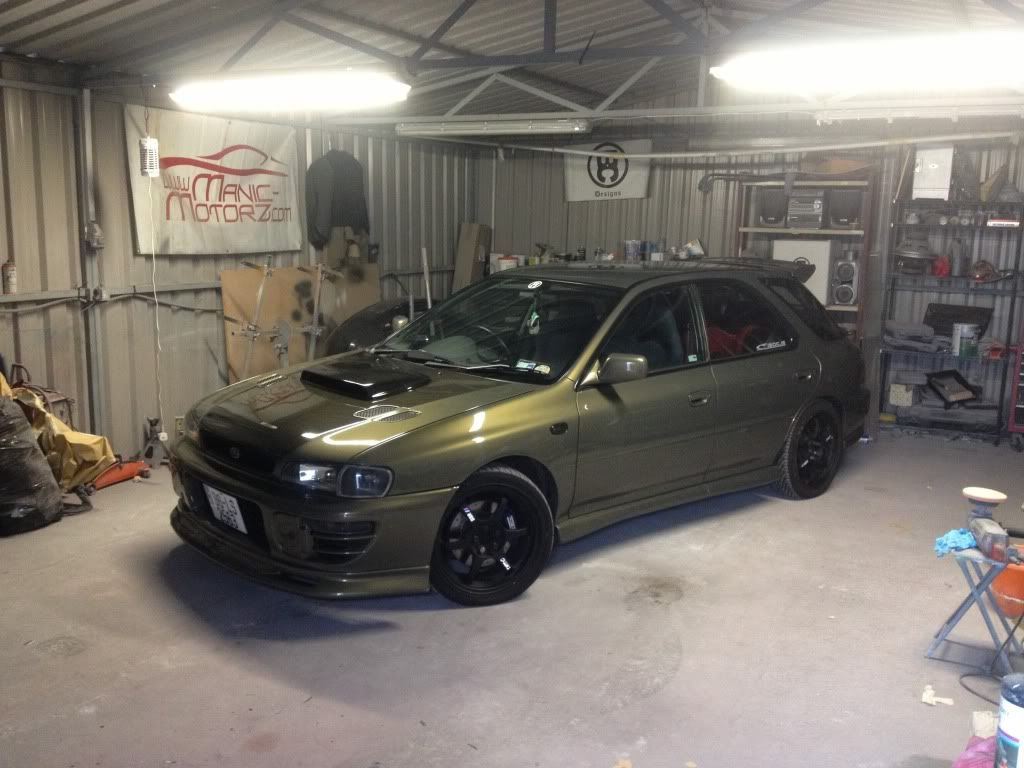
I had a free morning in the garage so I said I would get my wagon in for a full compound buff as it badly needed it, I washed it last night to save time today
I got the car in and started off with removing the bonnet scoop and vents

I then masked up all the trim and windows to keep the car as clean as I could
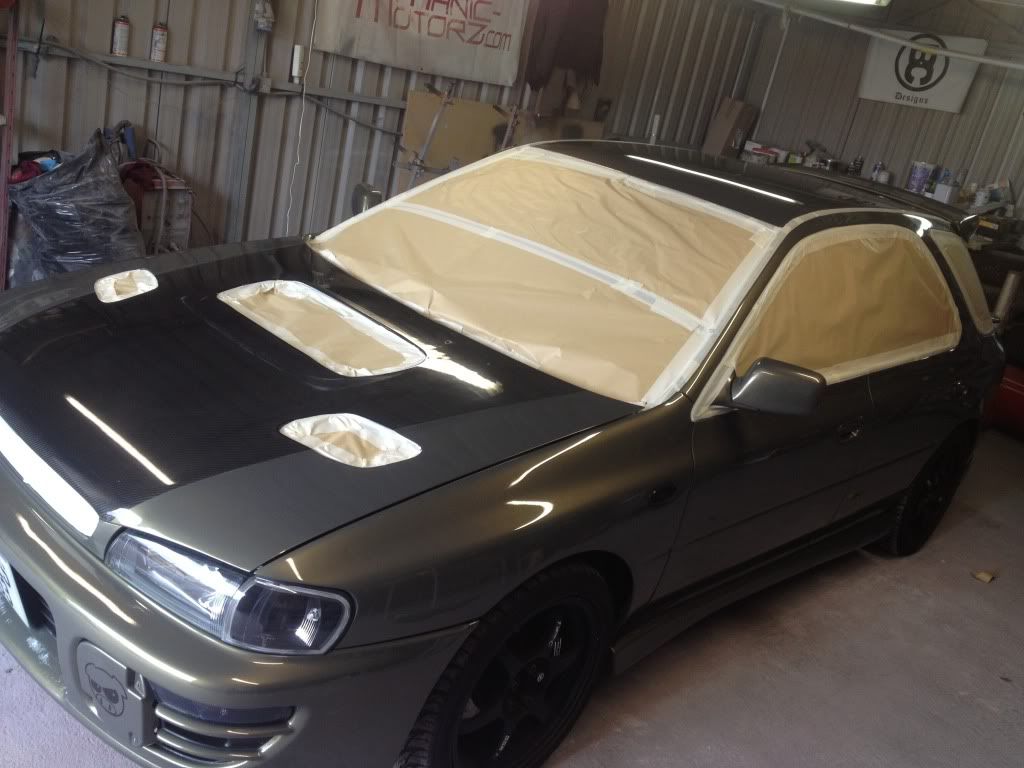
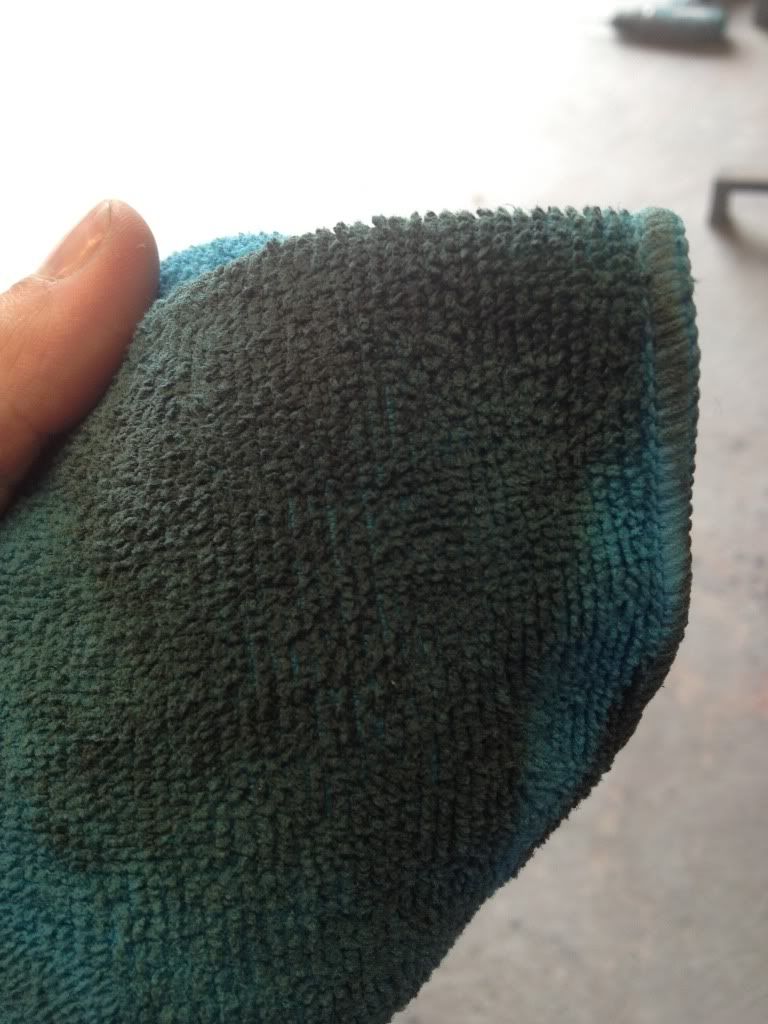
Next I sprayed the car with a tar remover and got scrubbing, its mad how clean you think your car is after just a wash this clearly shows how wrong i was after just doing the wing
Once done I went at the paint with 3M fast cut plus this took around an hour and a half to do the whole car top to bottom and got rid of all my deep scratches and left a nice finish
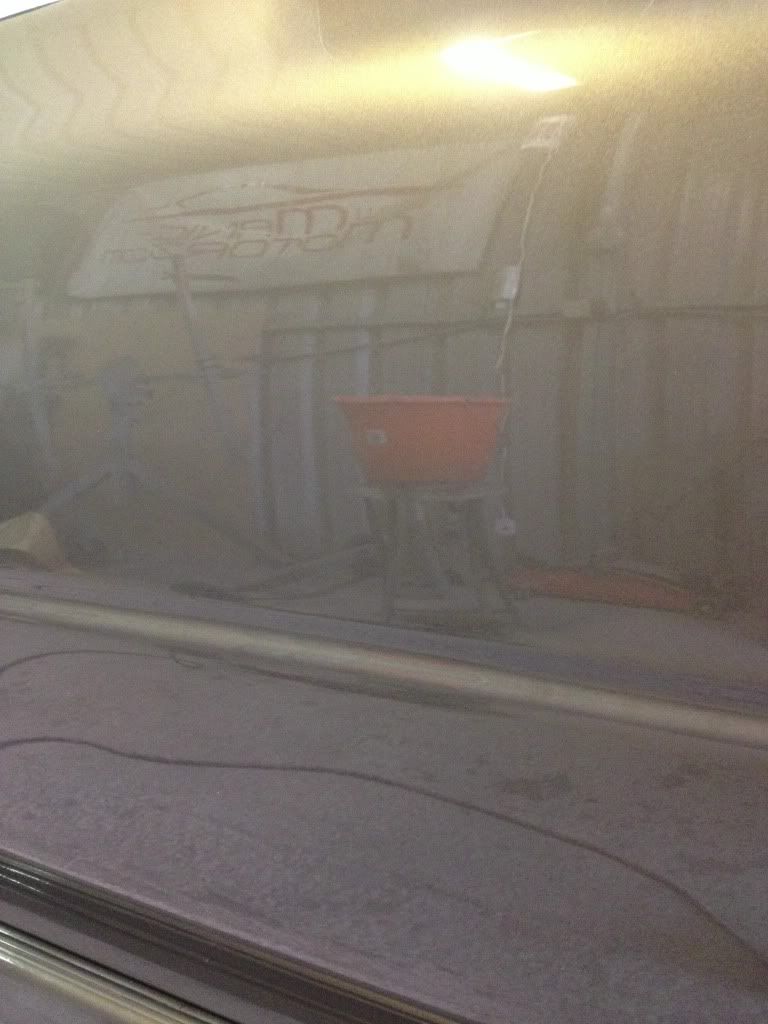
Next up was to do the whole car again with 3M ultra fine compound and this brought the paint back to its former glory
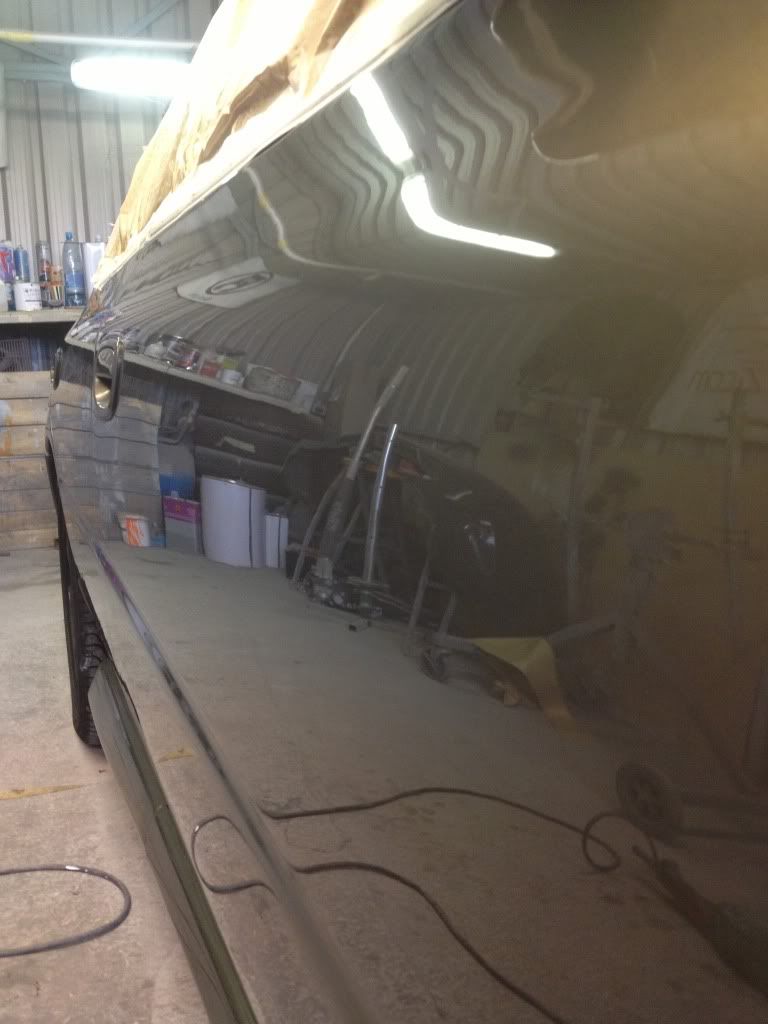
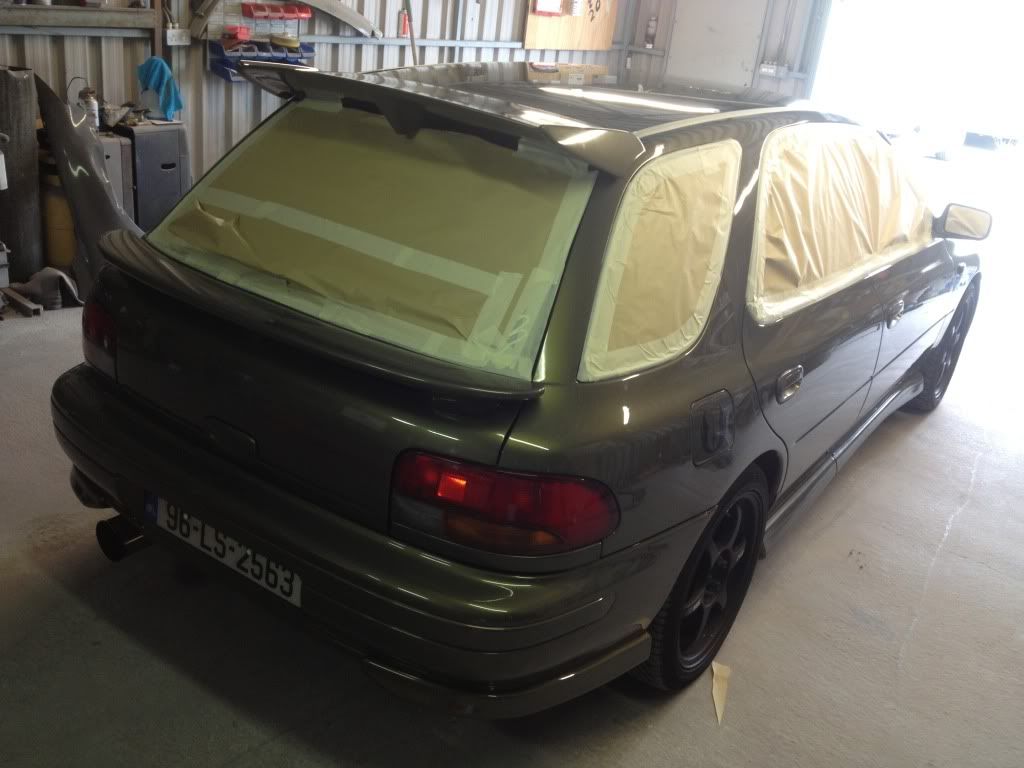
I then gave the whole car 2 coats of autoglym super resin polish and removed all the masking, next up was a final coat of chemical guys blacklight, this is applied and let cure for 15 minutes before its buffed off

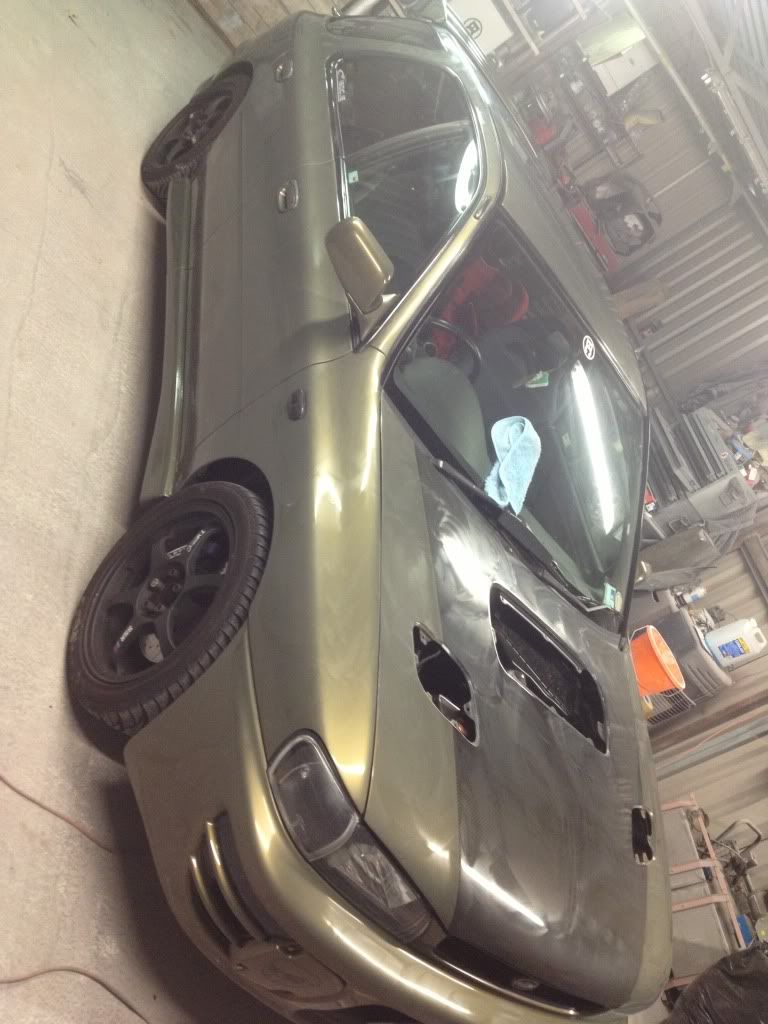
While that was drying I stitched my front skirt back together and put it back on until I can get a new one, the end result is just what I wanted its like the day it rolled out of the oven apart from the marks on the front bumper
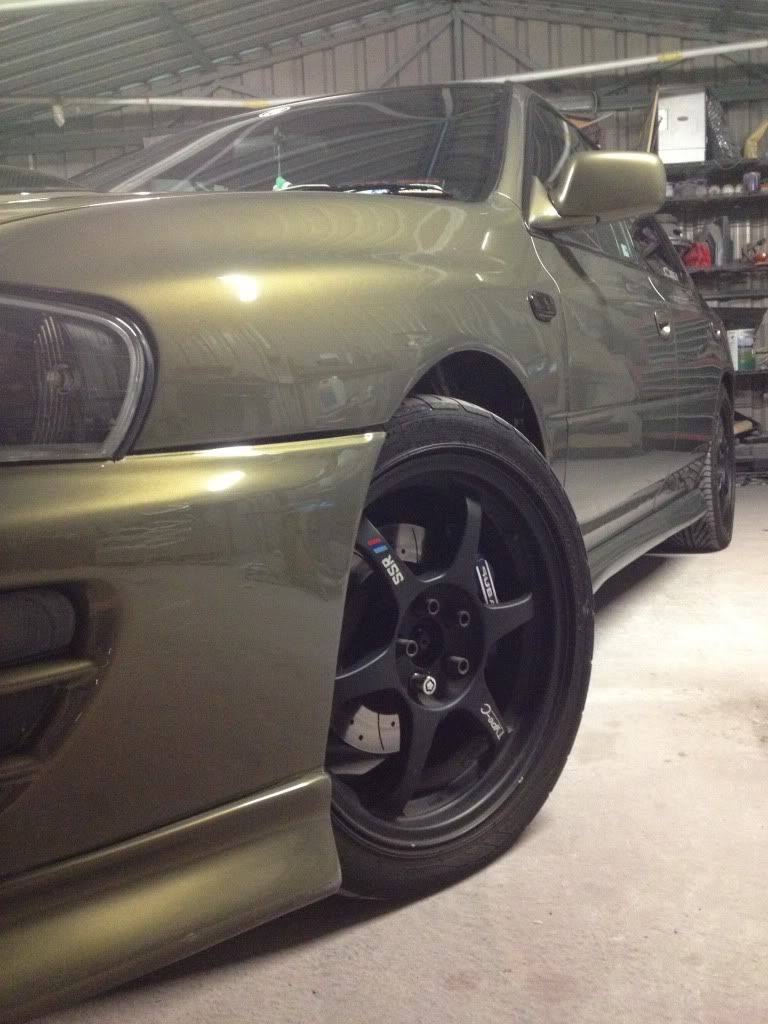
Hopefully il get a chance to spray my wheels before next week
I had a free morning in the garage so I said I would get my wagon in for a full compound buff as it badly needed it, I washed it last night to save time today
I got the car in and started off with removing the bonnet scoop and vents
I then masked up all the trim and windows to keep the car as clean as I could
Next I sprayed the car with a tar remover and got scrubbing, its mad how clean you think your car is after just a wash this clearly shows how wrong i was after just doing the wing
Once done I went at the paint with 3M fast cut plus this took around an hour and a half to do the whole car top to bottom and got rid of all my deep scratches and left a nice finish
Next up was to do the whole car again with 3M ultra fine compound and this brought the paint back to its former glory
I then gave the whole car 2 coats of autoglym super resin polish and removed all the masking, next up was a final coat of chemical guys blacklight, this is applied and let cure for 15 minutes before its buffed off
While that was drying I stitched my front skirt back together and put it back on until I can get a new one, the end result is just what I wanted its like the day it rolled out of the oven apart from the marks on the front bumper
Hopefully il get a chance to spray my wheels before next week